Need Waterproofing Help? Call: (860) 875-6646
If you’ve noticed water seeping through your basement wall, acting quickly is the key to preventing further damage. Addressing small issues now can help avoid costly structural repairs later.
This guide walks you through the process, from identifying the leak to applying sealants and repairing cracks. Whether you're new to home maintenance or have experience with basic repairs, these steps can help you approach the problem with confidence. For more persistent issues, turning to an expert wall leak repair provider or waterproofing company may offer lasting results.
Start your inspection by looking for visible signs of dampness along the basement walls. Focus on areas near doors, windows, pipe penetrations, and at the base of the wall where leaks are more likely to occur. Discoloration, staining, or soft patches may point to problem spots. Musty smells or the presence of mold also indicate trapped moisture.
Use a flashlight to check less obvious areas. You should also step outside to see if poor drainage or clogged gutters are contributing to the problem. Pinpointing the leak source ensures your repair efforts are focused where they’re needed most, especially when planning rising dampness treatment in South Windsor CT.
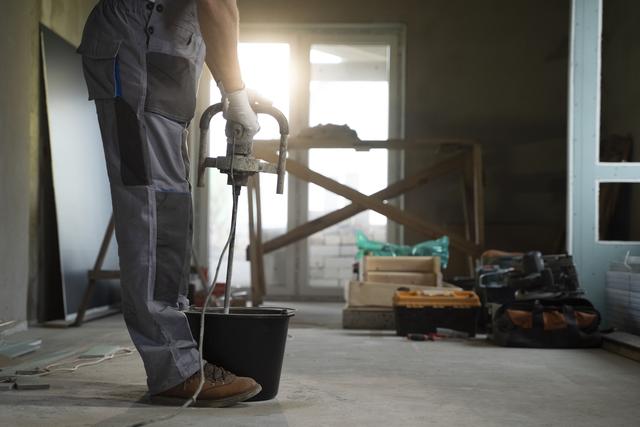
Before beginning repairs, make sure you have everything you need. Common materials include a strong wire brush, sealant or hydraulic cement, protective gear, a putty knife or trowel, and a dehumidifier for drying the area. Safety glasses, gloves, and a mask are especially helpful when working with cleaning agents or chemicals.
A container for mixing products and a step stool for hard-to-reach areas can also make the job easier. Having everything in place at the start will help your repair process go more smoothly from start to finish.
Thorough preparation makes a significant difference in how well repairs hold up over time. Use your wire brush to scrub the wall and remove dirt, flaking paint, or loose debris. If mold or mildew is present, clean it using a bleach and water mixture, and allow the surface to dry completely.
Carefully inspect the wall again once it’s clean, paying close attention to any hidden cracks or holes. A completely dry and debris-free surface helps sealants and patching materials adhere properly, improving the repair’s effectiveness.
Choose a sealant designed specifically for below-grade masonry walls as part of thorough basement waterproofing in South Windsor CT. These products are formulated to resist water pressure and bond well to concrete or block surfaces. Apply the sealant using a brush, roller, or sprayer, depending on the product's instructions.
Coat the entire wall evenly, focusing extra attention on joints, corners, or areas that previously showed signs of moisture. Allow the first coat to dry completely before applying a second if recommended. A consistent, smooth application creates a protective layer that keeps water out and reduces the chances of future leaks.
Once the surface is sealed, repair visible cracks or holes to restore the wall's integrity. Clean out each crack using a wire brush or vacuum. For narrow cracks, inject a waterproof epoxy or polyurethane-based sealant designed for concrete. These materials form a watertight bond that resists expansion and contraction.
Larger gaps can be patched using hydraulic cement, which sets quickly and expands slightly as it cures. This is a key step in basement seepage repair in South Windsor CT. Use a putty knife or trowel to level the surface after applying the patch. Allow the material to cure according to the product instructions before exposing it to any moisture.
After repairs are complete, observe the area during and after rainstorms or wet weather. Watch for new stains, damp patches, or signs of water returning. If you own a moisture meter, test the area to detect any hidden dampness behind the wall surface.
Another method is to spray water outside the foundation with a garden hose and check indoors for leaks after a short time. Regular monitoring can confirm the success of your repairs or alert you to areas that may need further attention.
Related Topics: