Need Waterproofing Help? Call: (860) 875-6646
Detecting a concealed water leak inside a wall can be frustrating and, if left untreated, lead to serious structural damage. This guide covers effective ways to identify the source of the problem, assess the damage, and address it properly. From early signs to proven detection techniques, you’ll learn how to handle leaks with the care and accuracy required to avoid long-term consequences.
In many cases, consulting professional waterproofing services may be the most efficient solution, especially when the issue is beyond the scope of basic home maintenance.
A hidden leak often reveals itself through subtle but telling signs, especially when water leak in wall repair becomes necessary. Watch for patches on the walls or ceiling that appear damp or discolored. These areas can range from pale yellow to deep brown and often have a soft texture. Persistent musty smells may also point to mold growth caused by trapped moisture.
Another key indicator is a sudden and unexplained rise in your water bill. These increases often go unnoticed until they become significant, so it’s worth tracking your monthly usage closely. These early warnings might seem minor, but addressing them early can prevent structural damage and high repair costs.
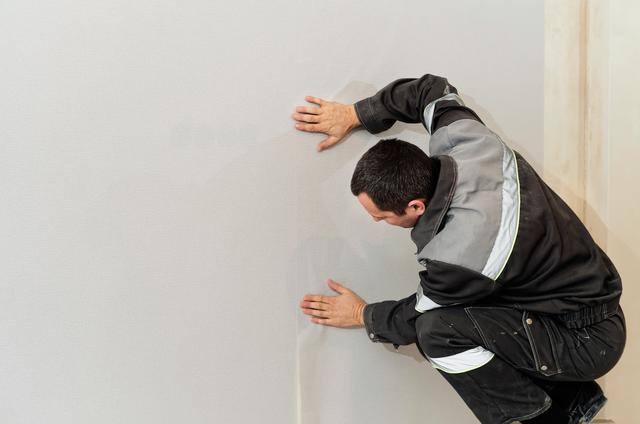
Once you've noticed signs of a potential leak, a closer look at the affected area is essential. Examine the surrounding space for visible moisture, stains, or peeling paint. Walls that feel soft or have bulging areas often signal internal damage. Gently press on suspicious areas with your fingers or a small tool; if the material crumbles or sinks in, water exposure may be the cause.
Areas close to plumbing, like those near sinks, tubs, or laundry machines, deserve special attention. Also inspect baseboards, floors, and ceilings beneath bathrooms or kitchens, as water tends to travel along these paths. A detailed inspection can help narrow down the leak's origin and severity.
Specialized tools can significantly improve your chances of accurately identifying a hidden leak. Infrared imaging equipment is particularly useful for detecting temperature variations in the wall, which often indicate moisture. Acoustic devices help locate the subtle sounds of water escaping from pipes, even when hidden deep within the structure.
Moisture meters provide another layer of insight by measuring the actual dampness within the wall materials, revealing pockets of water invisible to the eye. In some cases, plumbing systems can be tested by increasing internal pressure and monitoring for drops, which suggests leakage. These methods often require professional-grade tools, but even a basic device can support your inspection.
You can still carry out useful checks on your own before calling in expert help. Begin by thoroughly drying any damp surfaces, then apply a moisture meter to the suspect areas. An unusually high reading may point directly to the leak. Pay attention to wall finishes; flaking paint, warped panels, or darkened patches often signal trouble.
You can also use a simple dye test: add food coloring to a fixture or pipe upstream from the suspected area, then monitor for any appearance of color on the wall or floor surface. This hands-on approach may not catch every issue, but it can help narrow down the source ahead of more in-depth repairs.
Once you’ve identified where the leak is coming from, it’s time to address the damage. Begin by ensuring the surrounding area is completely dry, as working on a wet surface can compromise the repair. Depending on the nature of the leak, the fix might involve sealing a pipe joint, replacing a section of drywall, or resealing wall gaps.
More severe cases, such as cracked plumbing lines or extensive mold damage, may require replacing materials entirely or bringing in specialized contractors. Once repairs are made, test the area again to confirm that moisture is no longer present. Ensuring the problem is fully resolved now can prevent repeated issues down the line.
Ongoing maintenance is one of the best ways to avoid repeat leaks. Regularly check exposed pipes for any signs of corrosion or loose connections. Inspect the condition of your roof and ensure water runoff systems like gutters are working effectively. Indoors, keep an eye on areas with high moisture use, including bathrooms, kitchens, and laundry rooms.
Sealing small cracks or entry points in your walls or foundation including concrete crack repair can also prevent water from entering during heavy rain or plumbing malfunctions. If you’ve had issues before, especially around windows, consider professional window waterproofing in South Windsor CT to block outside moisture from penetrating your home. Also, it may be worth installing a leak detection system that can provide early warnings. Catching small problems before they grow can save time, money, and stress in the long run.
Related Topics: