Cracks in a brick wall can look alarming, but many can be handled without replacing any bricks. This guide walks through the steps used by homeowners and professional crews, including a top-rated waterproofing company, to assess the damage, prepare the surface, choose a repair method, and apply a lasting fix. The process begins with understanding the crack itself and continues through careful preparation and steady workmanship, keeping the wall stable and the appearance intact.
Assessing the Crack Size and Type
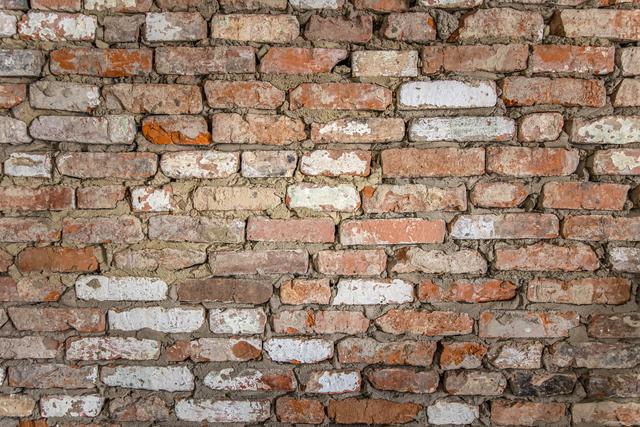
Begin by examining the width and pattern of the crack so you can decide how to approach the repair. Thin lines often develop from surface wear or temperature changes, while wider gaps may point to stress in the structure. Patterns such as vertical, stair-step, or horizontal cracks can hint at settling or pressure from soil or moisture. A clear assessment helps you choose a method that matches the cause rather than simply covering the problem.
Gathering the Necessary Tools and Materials
A solid repair starts with the right tools. A wire brush helps clear loose mortar, a chisel removes weakened sections, and trowels shape fresh mortar once applied. A bucket is useful for mixing, and protective gear like gloves and goggles keeps the work safe. Mortar mix and a bonding agent form the core materials, ensuring the new fill adheres well to the surrounding brick.
Preparing the Surface for Repair
Preparing the wall is as important as the repair itself. Clear out debris with the wire brush, and clean the area with mild detergent and water so the mortar sets properly. Give the surface enough time to dry. If the crack resulted from moisture intrusion or shifting soil, address those conditions beforehand; otherwise, the repair may not hold as long as it should.
Choosing the Right Repair Method
The method you use depends on the width and depth of the crack. Thin cracks often accept a simple mortar fill or masonry sealant. Wider openings may require a sturdier mix or, in some cases, a product designed to bond deeply into the gap. Understanding whether the damage comes from expansion, settling, or water pressure helps ensure the repair matches the cause and lasts longer.
Applying the Repair Solution
Once the wall is clean and dry, press the repair mixture firmly into the crack so it reaches the deepest points. Shape and pack the mortar carefully to avoid gaps. Smooth the surface with a trowel to match the surrounding brickwork. Consistent pressure and even layering help the mortar set securely and blend naturally with the wall.
Finishing Touches and Maintenance
After the repair has set, check the surface for rough spots and lightly smooth them if needed. A matching sealant can help the color blend and protect the repair from moisture. Examine the area from time to time, especially after heavy storms or temperature swings. Addressing minor changes early keeps the wall in steady condition and protects the work you’ve already done.
Related Topics: