Repairing plaster wall cracks on old or worn walls often calls for a clear look at the damage before doing any hands-on work. This guide explains how to assess the problem, prepare the surface, apply a patch, smooth the repair, and finish it so it blends with the rest of the room. These steps resemble the careful approach used by affordable leak repair specialists, who work methodically to prevent the same issues from returning.
Tools and Materials Needed
Repairing plaster usually requires the basics found in most home toolkits. A utility knife helps remove loose plaster, while a putty knife spreads patching compound smoothly across the damaged area. Mesh tape can reinforce the section so the crack doesn’t reopen. Joint compound provides the final layer before sanding, and sandpaper helps create an even surface. A primer and matching paint finish the job so the patch settles naturally into the wall. Items like a drop cloth, eye protection, a dust mask, and a small light can make the work cleaner and easier.
Assessing the Damage
A careful assessment gives you a better idea of what caused the crack and how deep it runs. Look at the length and width of each break in the plaster, then check how firmly the surrounding material is holding together. Keep an eye out for moisture marks or dark spots, which may point to a leak or another issue inside the wall. Areas where the plaster crumbles at a touch often indicate the need for extra reinforcement. Taking your time with this step helps guide the rest of the repair.
Preparing the Wall Surface
A solid surface helps the patch stick and stay in place. Remove loose pieces with a scraper or knife until the area feels stable. Wipe the wall with a damp cloth to clear dust so the compound adheres correctly. If the wall shows signs of moisture or mildew, handle that concern before adding new material, since covering the problem can cause the crack to return. A clean, dry wall gives you the best base for the next stage.
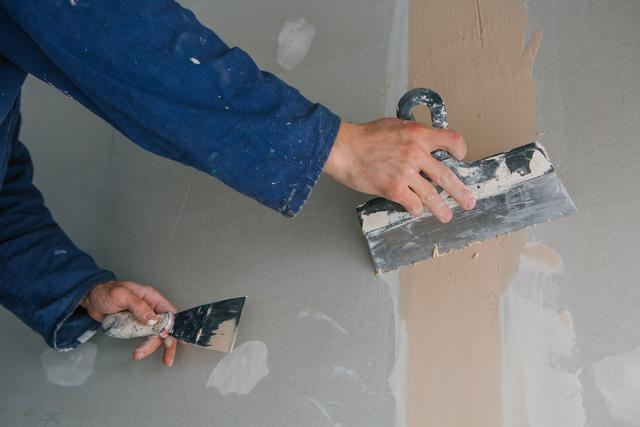
Applying the Plaster Patch
Follow the instructions on the patching compound to reach a smooth consistency. With a putty knife, press the mixture firmly into the crack and spread it outward so it blends with the existing plaster. Keeping the edges soft helps the repair merge with the wall later. Leave a slight rise in the material to allow room for sanding once it dries. The compound often sets at different speeds depending on the brand and temperature, so give it enough time before moving forward.
Sanding and Smoothing
Once the patch has hardened, sand the area gently until it matches the level of the surrounding wall. A light hand works best, since pressing too hard can remove more material than intended or create dips that show under paint. Wipe away the dust and feel the surface with your fingertips to make sure it is even. If the patch still stands out, repeat the sanding until the finish feels uniform.
Painting and Finishing Touches
After the repair is smooth, apply primer so the paint will settle evenly. Once the primer dries, use paint that blends with the rest of the wall, applying it in steady strokes to avoid lines or uneven patches. When the section dries, look closely for texture differences or thin spots in the color. A small touch-up can help the repair settle into the room naturally, leaving the wall looking refreshed and consistent.
Related Topics: